

How To Draw A Chicken Coop
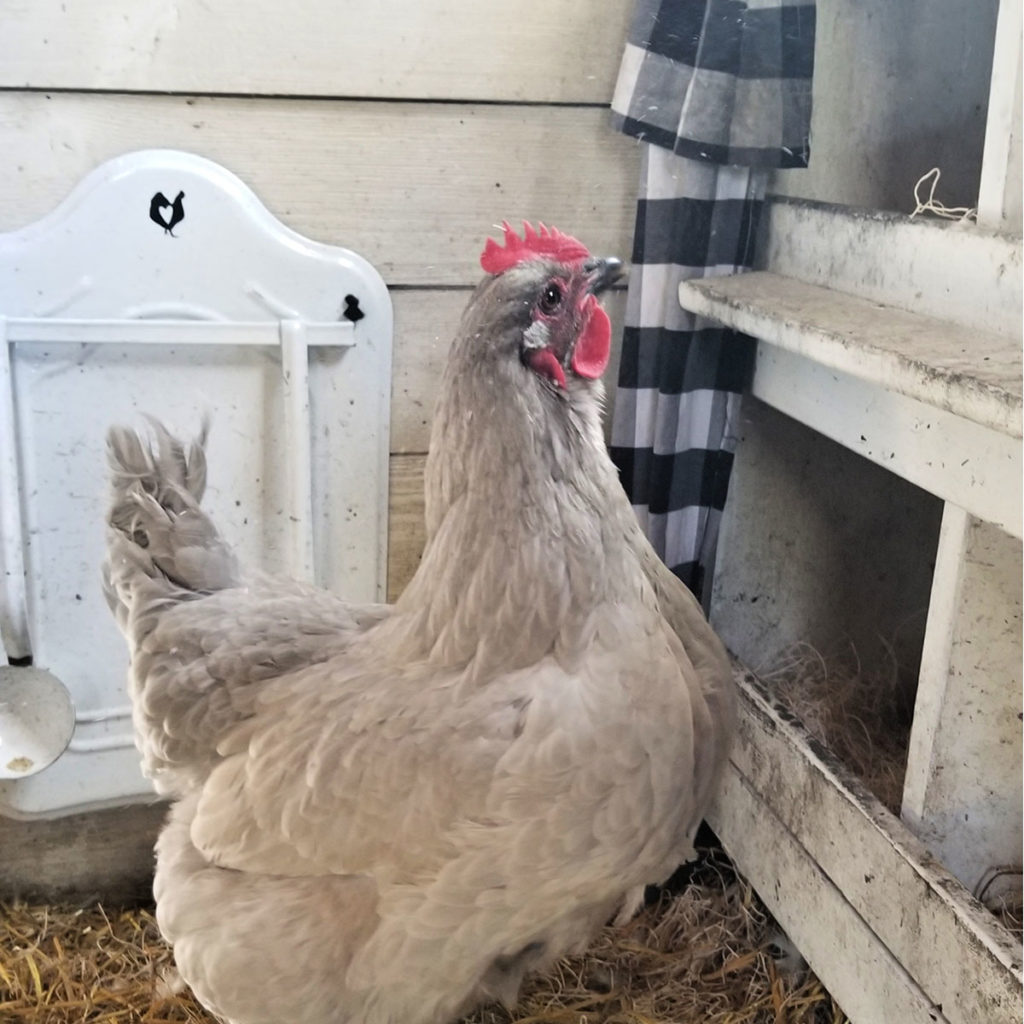
Raising chickens has been gaining popularity with suburbanites and urbanites over the by decade, and today, these numbers are growing even larger. With a few fluffy feathered friends in your lawn, it's possible to supply your family with a adequately steady stream of fresh eggs without ever stepping foot inside a grocery shop.
When yous begin to add up all the start-upwardly costs, even a small-scale flock of chickens tin exist an expensive proposition when you lot effigy in the cost of the chicks, feed, supplements, feeders, waterers, and heat lamps, not to mention the cost of buying or building a coop for them.
Read Raising Backyard Chickens For Beginners
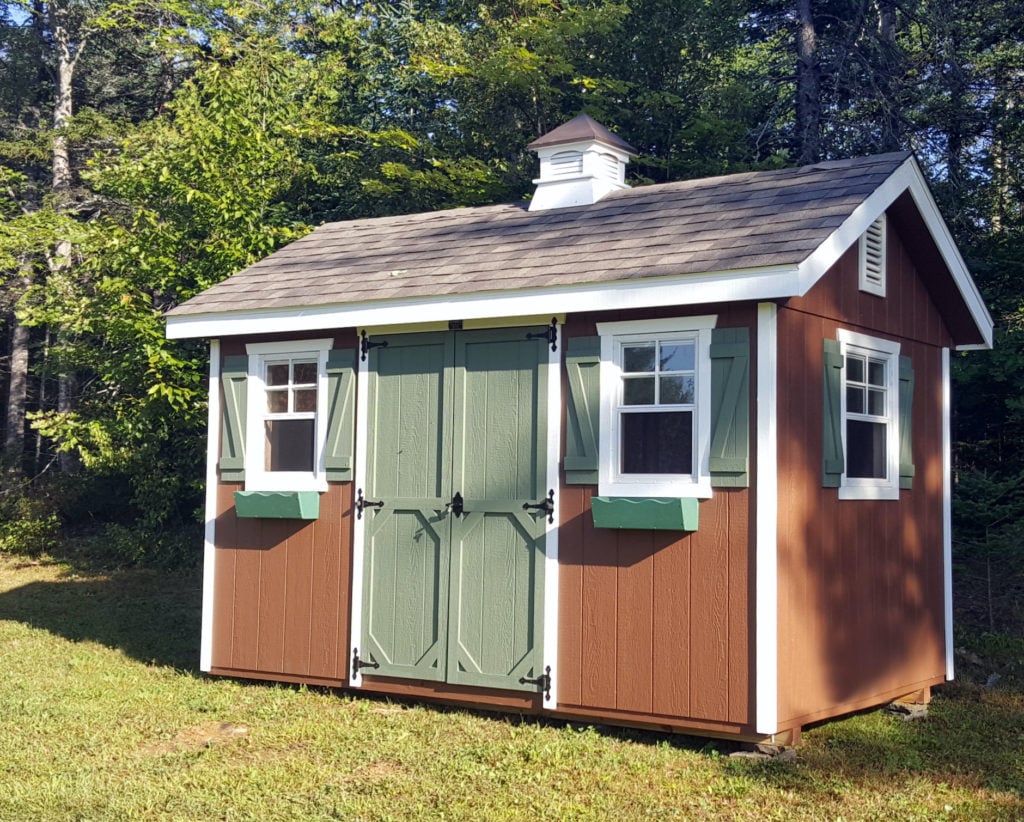
If you lot're handy, you can save money by edifice your own chicken coop, just if you lot're not, it's simple plenty to convert an existing structure y'all already have on your property into a perfectly functional and safe home for your flock to sleep and lay their eggs in.
Blazon of Structures You Tin can Employ For Your Coop
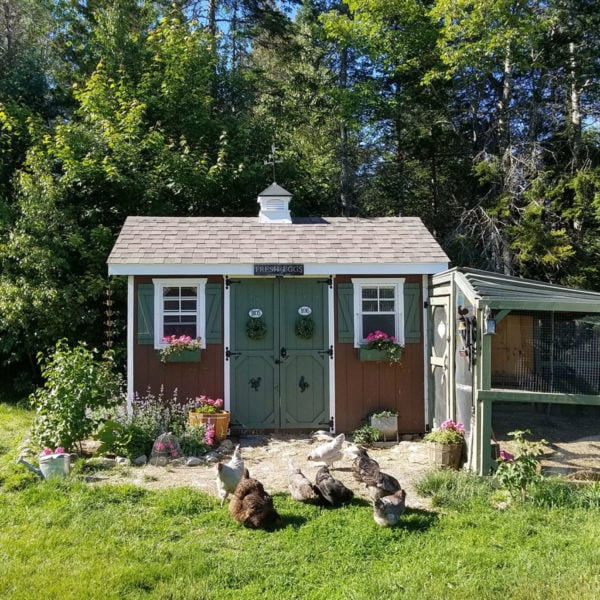
Do y'all take a playhouse no longer being used? A garden shed, or an old doghouse and chain-link kennel? What almost a potting shed, or even a equus caballus stall or tack room in your barn? Any of these outbuildings will hands convert into a craven coop.
New babe chicks? You've got about 8 weeks from the time you get your chicks until they tin be exterior. That's plenty of fourth dimension to convert your shed into a suitable coop for them.
In addition to saving time and money, in that location are several advantages to converting an existing structure into a craven coop. First and foremost, a coop needs to be predator-proof to protect your flock at dark from all the wildlife looking for an easy craven dinner. Starting with a secure structure with solid wooden walls and a wooden or fifty-fifty a concrete floor is half the boxing.
With a few minor modifications, your structure tin can be flock-ready in no time. The specific modifications your structure volition need volition depend on the size and style of the building that yous're converting, just hither are some things to think about and features that every good coop shares.
Converting An Existing Structure – Getting Started
Outset From The Ground Up
Outset, yous'll need to move everything out of the building. Sweep the floor clean and remove any pieces of wire, string or safe, along with whatever loose screws, nails, or other droppings. Chickens will swallow annihilation and are especially attracted to shiny things. It'south also important to check the expanse outside the edifice and rake any odds and ends you notice in the grass into the trash.
Your chicken coop will need a solid floor so predators like skunks, domestic dog, or fox can't dig in from underneath. If the building has a dirt floor that's easily breached from underneath by excavation predators, merely prevarication some wooden pallets on top of the clay and and then comprehend them with sheets of plywood. Screw the plywood in identify using i×one boards or furring strips to secure it.
This volition forbid your flooring from rotting and also prevent predators from gaining access. A canvas of inexpensive vinyl flooring on top of the plywood makes for easy cleanup and prevents mites and other parasites from burrowing into the wooden floor. Add together a squeamish layer of pine shavings or harbinger, and your coop at present has a nice secure floor covering with nice soft bedding material.
As far as floor infinite in your coop goes, y'all'll want to allow for three-4 square feet per chicken.
Little Chicken Door
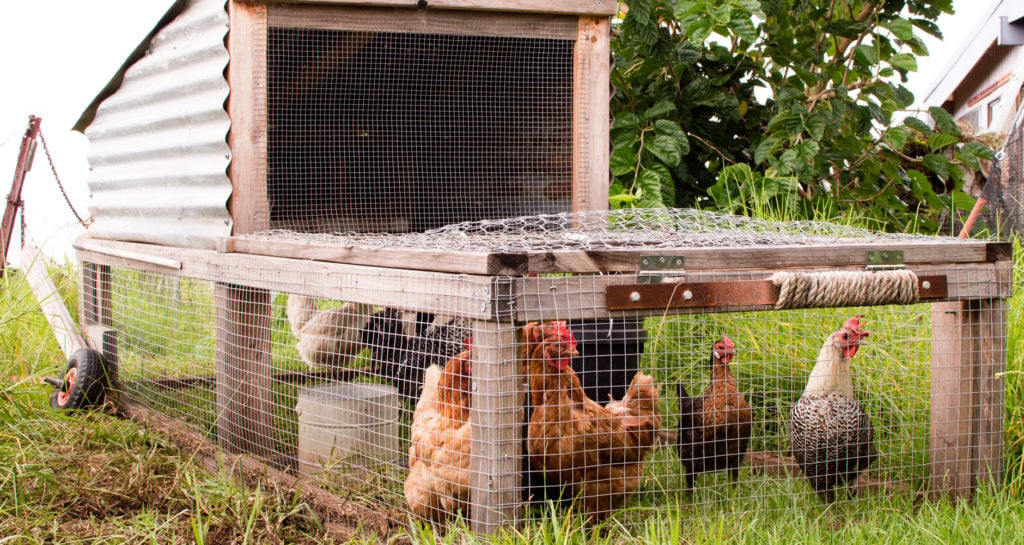
In addition to the regular "homo-sized" door in your coop, you'll likely also want a smaller "craven-sized" doorway for your flock to utilize to admission their pen. The chicken door is normally located on 1 side wall of the coop and can just be a hole cutting through the wall, measuring 12" x 12" or similar in size.

Keep the piece of plywood you lot cut out, attach hinges to 1 side, and position it over the hole you cut to make a bones door that can be locked at night to keep your chickens condom. Y'all'll also demand to install a predator-proof latch on the door that a wily raccoon can't open. A latch with a carabiner or a locking eye hook is a skilful choice.
Alternatively, you can install an automatic solar- or bombardment-powered craven door that will open at sunrise and shut at sunset. Automated doors are available commercially from various companies.
Replace the Front Door Latch
You'll also need to add together a latch on the forepart door of your coop that a raccoon can't open up, assuming there isn't 1 already. So again, an eye hook with a bound-loaded latch, a deadbolt secured with a carabiner, a padlock or other type of predator-proof latch is a must.
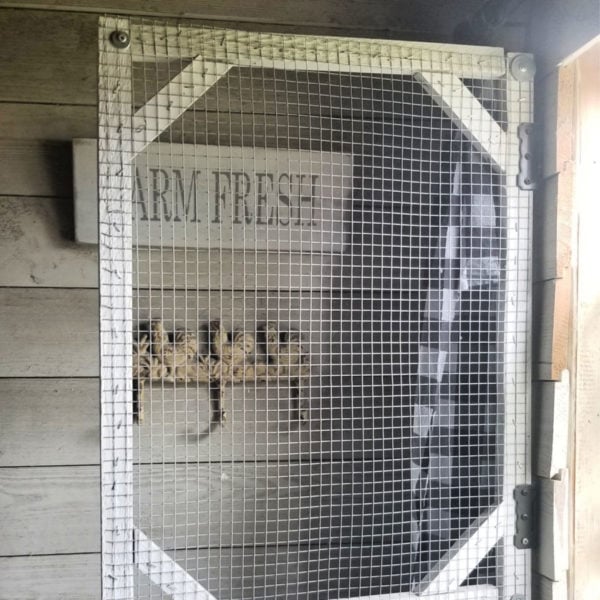
Nesting Boxes
Next, you'll need to prepare a place for your chickens to lay their eggs. Nesting boxes should exist nearly 12" x 12" and filled with overnice soft bedding such every bit pine shavings, harbinger or a nesting pad. They can be fix at ground level, or raised off the ground a bit to make egg collecting a little easier.
If you lot're handy, you can build a row of wooden boxes and screw them into 1 wall of the coop, otherwise, consider repurposing 5-gallon plastic buckets, storage totes, kitty litter boxes, or wooden crates gear up on their sides and secured.
Place some fake eggs, golf assurance or fifty-fifty stones in each of the boxes to entice your chickens to lay their eggs in them.
Roosting Bars
Next, yous'll need to build roosts for your chickens to slumber on. Chickens naturally seek the highest basis they can to sleep, and so to avoid them sleeping in their nesting boxes (which need to stay make clean for them to lay eggs in), be sure you position the top roosting bars higher than the boxes.
Staggering the roosts in a laddered design makes it possible for the chickens to hop from one roost to the next to get upward or down. Yous should allow for a minimum of eight inches roosting bar per hen.
The easiest fashion to build roosting bars is to use 2 x 4 boards. With the 4-inch side facing upward, secure the boards to the back or side wall of your coop.
Angling the roosting bars allows for more than chickens to fit. Construct a slanted ladder with the steps about xv" apart so that your chickens can roost one row to a higher place the other without pooping on each other when the roost is leaned up confronting the wall.
Alternatively, y'all can lean a few wooden ladders against the wall for your chickens to roost on. Exist sure to secure them to the wall and then they stay in identify. Metallic ladders are okay in the warmer climates, but would exist also cold in northern areas in the winter.
Windows
It'due south probable that your structure already has windows. It's very of import that a craven coop has adept ventilation. At least 1/5th of the full wall area should be doors, windows or vents. Information technology's also unlikely that the windows are predator-proof, so yous'll need to cover the windows with ½" or ¼" welded wire fifty-fifty if the windows accept screens in them. The welded wire will go along fifty-fifty the smallest predators like weasels, snakes, and mice out of your coop.
Y'all can staple the welded wire upward, only securing information technology at the corners with a spiral and washer is a good idea because raccoons are strong and can easily rip wire down.
If your structure doesn't take any windows, then only cut openings in the wall, ideally above the level of the tiptop roosting bars then your chickens don't get a draft while they sleep, and embrace them with the welded wire. In warmer climates you can go out the windows open twelvemonth round, while in colder climates y'all'll want to shut the windows in the winter.
Vents
In improver to windows, you will demand vents in your chicken coop. It's important to have adept cross ventilation in the coop to allow fresh air to menses in and ammonia fumes from the craven manure to escape. The vents should be right up under the eaves of your coop, ideally i each wall, and again covered with welded wire. They don't need to be large–only 4×viii or then is adequate–but should stay open year-round. In lieu of roofing the vents with welded wire, metal floor grates screwed over the vent holes will piece of work well also.
Lastly, check every inch of the structure for any holes larger than an inch and close them up to exist sure nothing can go into your coop. Once you've washed that, you lot're set up to introduce your flock of backyard chickens to their new dwelling house!
Looking for more than DIY projects? Learn how to Brand a Craven Tractor!

Lisa Steele
Lisa Steele is an author and 5th generation chicken keeper who shares a farm in Maine with her husband, mixed flock of chickens and ducks, two dogs, and a true cat. She writes the natural craven keeping blog Fresh Eggs Daily. Visit www.FreshEggsDaily.com.

Source: https://www.farmersalmanac.com/diy-converting-shed-chicken-coop-119773
Posted by: cartercamestich1950.blogspot.com
0 Response to "How To Draw A Chicken Coop"
Post a Comment